
How-to guides can save us all precious time. In this series, we look at useful smartphone features that some people might not know about it.
This article shows you a step-by-step process to ensure you never miss important emails on your iPhone. There is also a TL;DR list (cliffnotes) at the end of this article.
We recently updated an old tutorial on how to set custom tones on your Android device.
This kind of personalization conditions you to know which emails are clients and which are personal. That way, you can make you never miss important emails again. Or, at least, you can reduce the number of important emails you miss.
But Android users shouldn’t be the only ones keeping their email tones organized. After all, 63% of iPhones ever sold are still in use today according to Newzoo.
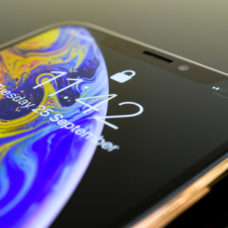
Our very own editor-in-chief graciously provided screenshots to illuminate the process.
Are you ready to learn just how easy it is to up your marketing game?

Step #1: Save the Client as a Contact
You’ll need to make sure that your client is a contact in your phone before moving forward. Enter the information of an important client into your iPhone as a contact.
You can use their name, the business affiliation, or a nickname. Just make sure if it something you will recognize as a client contact.
Step #2 and #3: Access Settings & Email
If you are setting up a new email account on your iPhone, you’ll have to add that first. If not, follow the subsequent steps for custom ringtones.
Follow the path below, navigating with finger taps on the corresponding buttons:
SETTINGS > Mail > Accounts > Add Account: Add your chosen email
After that, it’s time to get into the “nitty gritty” a.k.a. “The good stuff” a.k.a. the tones.
Step #4 and #5: Gain VIP Access
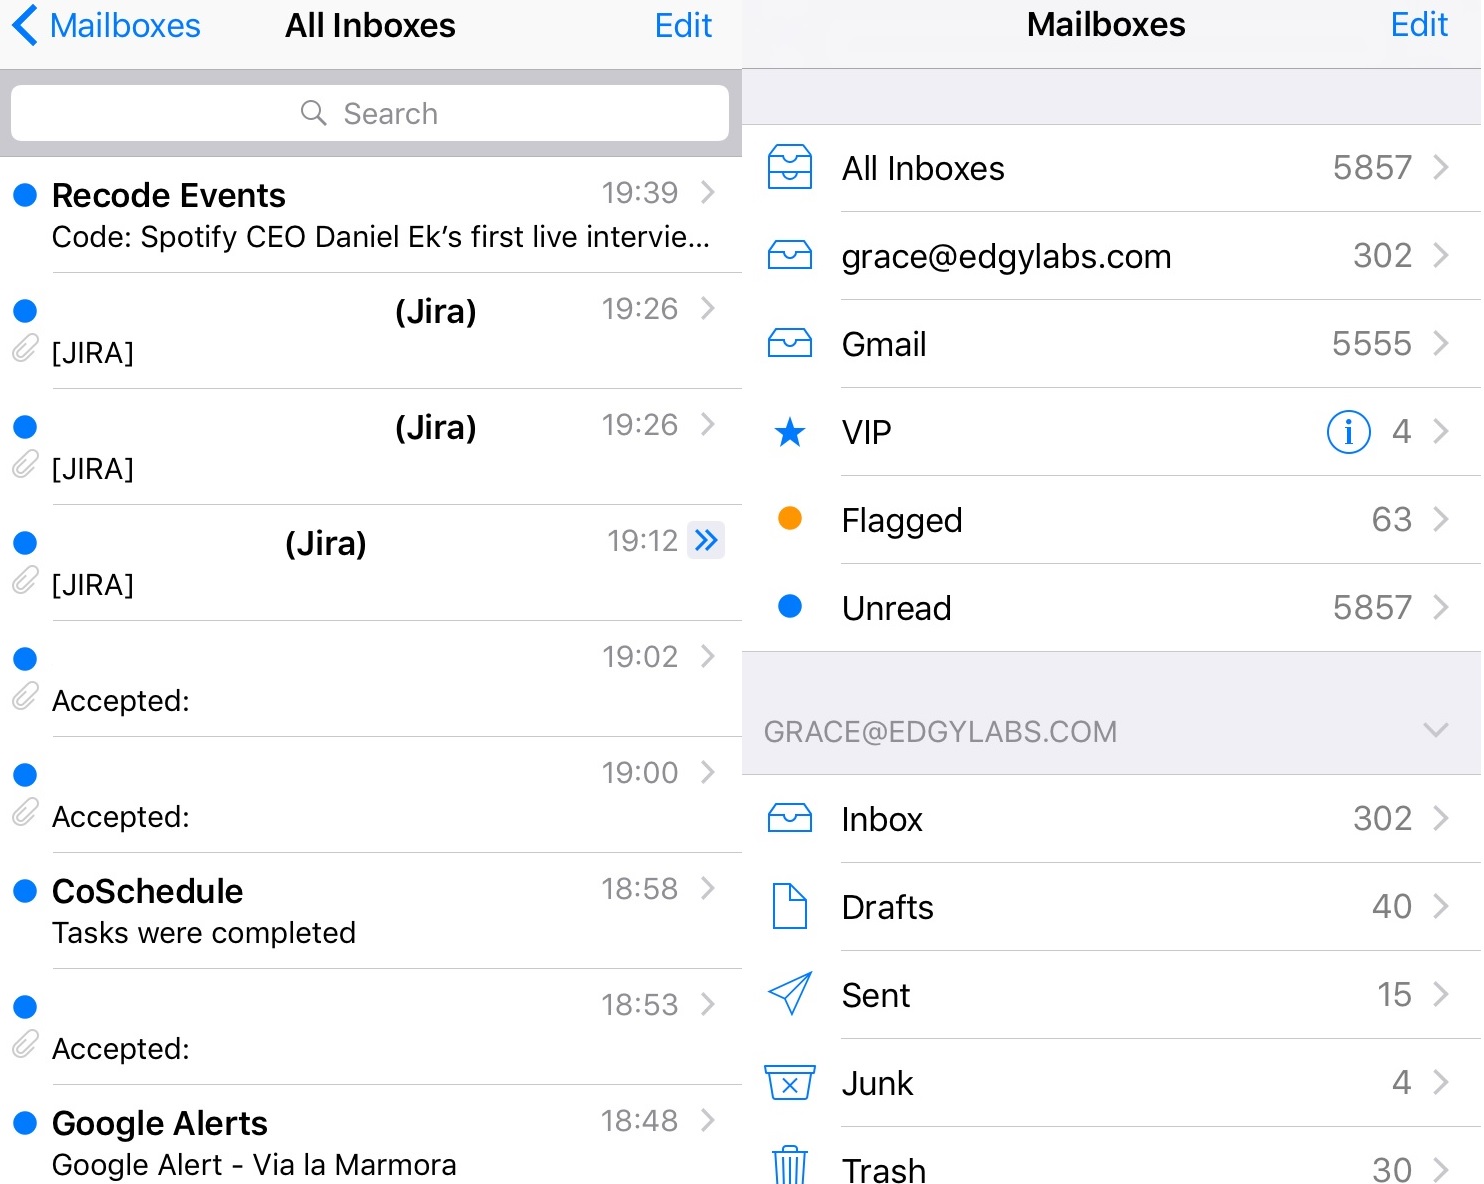
In order to add client contacts to your VIP folder, you’ll need to navigate to that screen.
First, tap “MAILBOXES” in the upper left corner of your screen. Then tap the information icon ⓘ on the right end of the “VIP” inbox row.
Step #6 and #7: Prioritize Client Contacts
These steps are rather straightforward. You’re almost done with setting client ringtones!
Tap “ADD VIP” to access your contact list. Yes, it is just that simple on the iPhone.
Then tap on the name of the contact you’d like to add to the “VIP” label. They will be added to the “VIP” label and you can easily execute the next two steps in this guide.
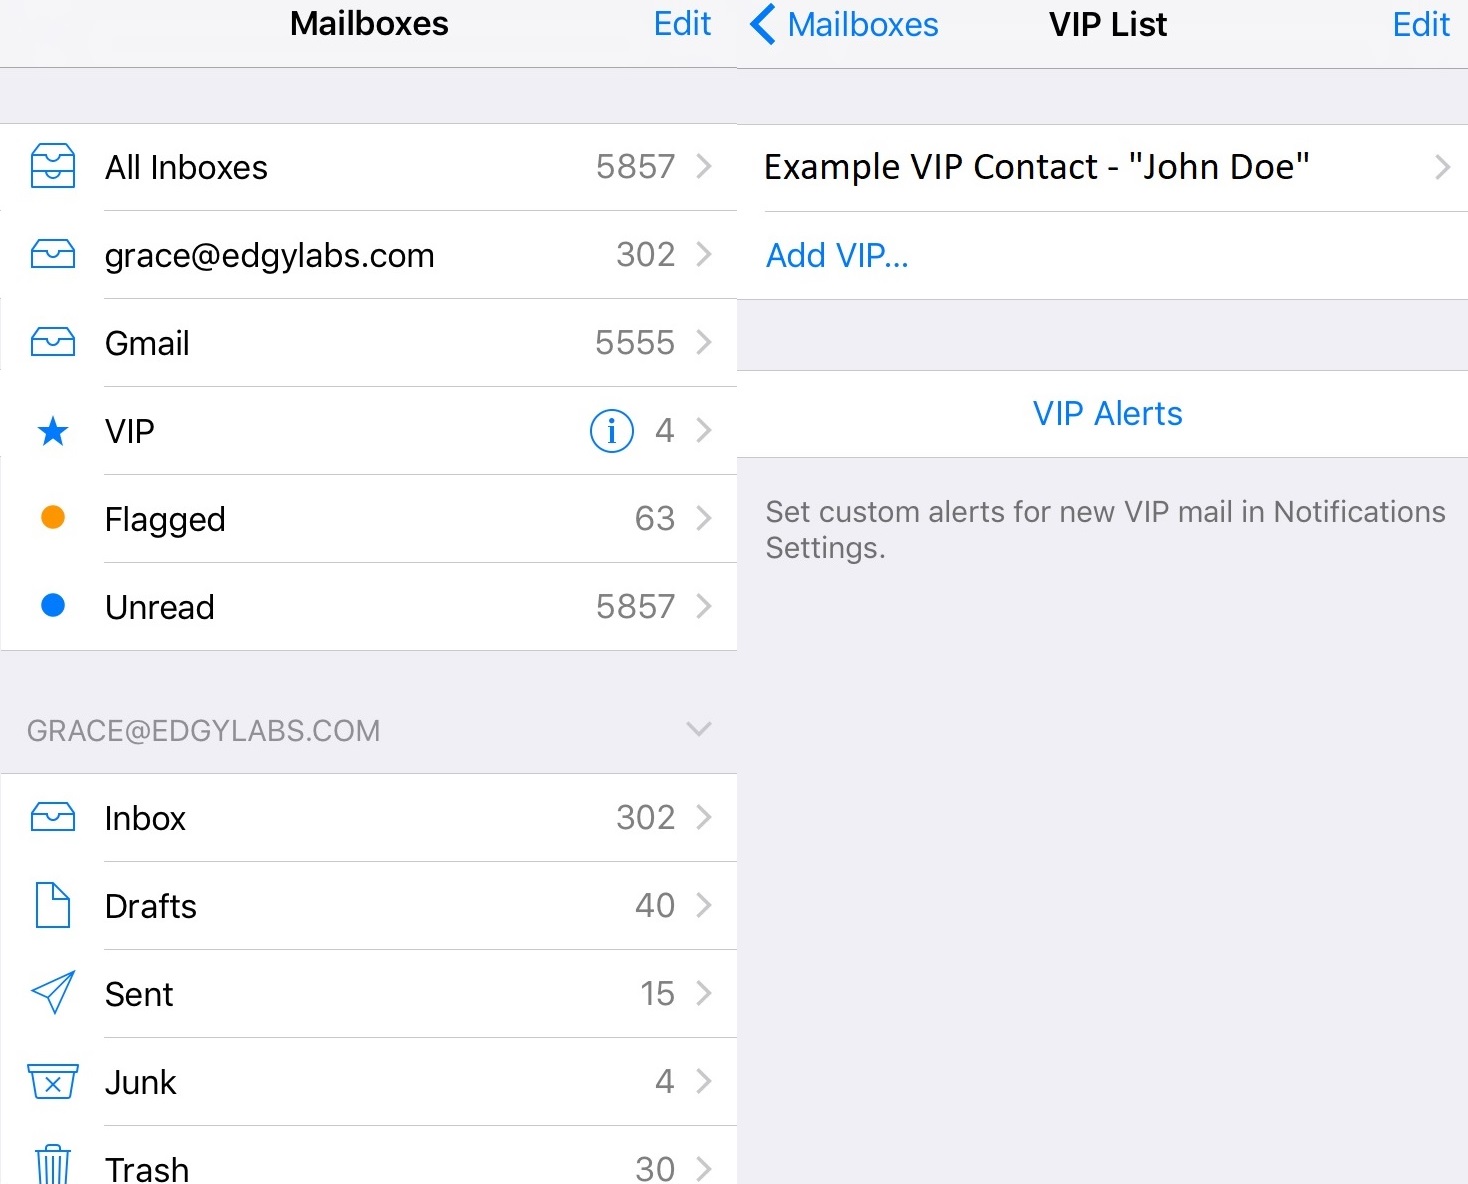
Step #8: A Little Backtracking
You’ll need to navigate back one screen to “MAILBOXES” for this step. Once you’re back there, tap the information icon ⓘ next to the “VIP” once more.
Step #9: It’s Time for Notifications
First off, you’ll need to tap “VIP ALERTS” then select “MAIL”; from here, you’ll need to enable a few things.
Activate the following list according to your notification desires:
- Show in Notification Center
- Sounds: select a ringtone that is different from your others
- Badge App Icon
- Show on Lock Screen
- Show Previews
You can set the sound to be something you will instantly recognize as a client email. You can also, as mentioned in the Android article, set personalized tone per client.
TL;DR for Important Emails Custom iPhone Tones
For those of you who just want the steps as a list, here you go:
- Save the important client and their email as a contact in your phone.
- Go to SETTINGS > Mail > Accounts > Add Account: Add your Edgy Labs email
- Launch the MAIL APP.
- Tap MAILBOXES in the upper left corner of your screen
- Tap the ⓘ on the right end of the VIP inbox row.
- Tap ADD VIP.
- Tap on the name of the contact you’d like to add to VIP.
- Go back to MAILBOXES and tap the ⓘ next to the VIP again.
- Tap VIP ALERTS. Activate the following:
– Show in Notification Center
– Sounds: select a ringtone that is different from your other ones
– Badge App Icon
– Show on Lock Screen
– Show Previews
By selecting a ringtone different from other notifications, you condition yourself. In time, you will associate this sound only with responding to the VIP client immediately!


Comments (0)
Most Recent