
In 2018, no one has an excuse to miss an important email thanks to smartphones. Still, it happens. Here you’ll learn how to never miss an important email ever again.
A tutorial from the stone age, 2012, still shows us a path to better client services. Nevertheless, the guide needed updating.
So, I did that. I adapted this ancient advice for our modern devices.
In just 4 quick steps, you can prioritize any client email and add personalization.
Step #1: Create a Gmail Label
Gmail inboxes can get fairly cluttered if you don’t stay on top of them. This goes double for people who receive dozens if not hundreds of emails every single day.
Using labels is a great way to more easily sort and find important emails. As you can see in the image above, you can even use multiple labels for individual emails.
A label differs from a filter, but we’ll get to that later.
The first step in prioritizing client emails is to access the Gmail application on your mobile device.
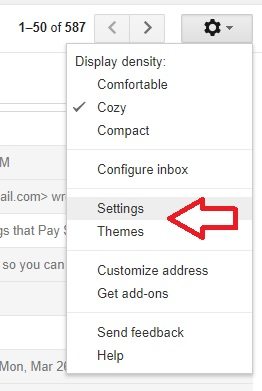
From there, you can go into the “Labels” tab via the Gmail settings gear in the top right of your screen.
You should come to a screen where you can access all current labels and create new ones. This is where you can create a label such as “Client Email” or “Follow Up Needed”. Then, you can sort your incoming emails using Step #2 in this guide.

Step #2: Create a Gmail Filter for a Client Email
Creating a filter might be a little more of a foreign concept than creating a label. But don’t fret, it is actually pretty simple.
Access the same Gmail settings gear in the top right corner of your screen. Then click on the tab that says “Filters” which should be between “Accounts and Import” and “Forwarding and POP/IMAP”.
From there, you create a filter by filling out the following fields:
- From – who sends these kinds of emails
- To – who these kinds of emails are for
- Subject – what these kinds of emails refer to
- Has the words – this allows you to sort based on important words such as “client”
- Doesn’t have – this allows you to further organize the filter for your client email list
You can also check the box for “has attachment” if you want further organization. But we don’t stop there. You can click “Create filter with this search” to add the label you just created to the filter.
When you’ve completed this part and go back to the “Filters” tab, you should see the filter you just created. You will also see the relationship in terms of when a message “matches” your fields, Gmail will “Do this” in terms of label application.
Pretty nifty, huh? Now it’s time to sync everything on your device and add that ringtone!
Step #3: Sync Inboxes and Labels
The next step is a little bit more involved as it requires navigating through a couple screens.
You’ll need to access the Gmail app on your mobile device’s primary account. Go to settings. From there, scroll down to “Manage Labels” and you will see a list of all the labels you have.
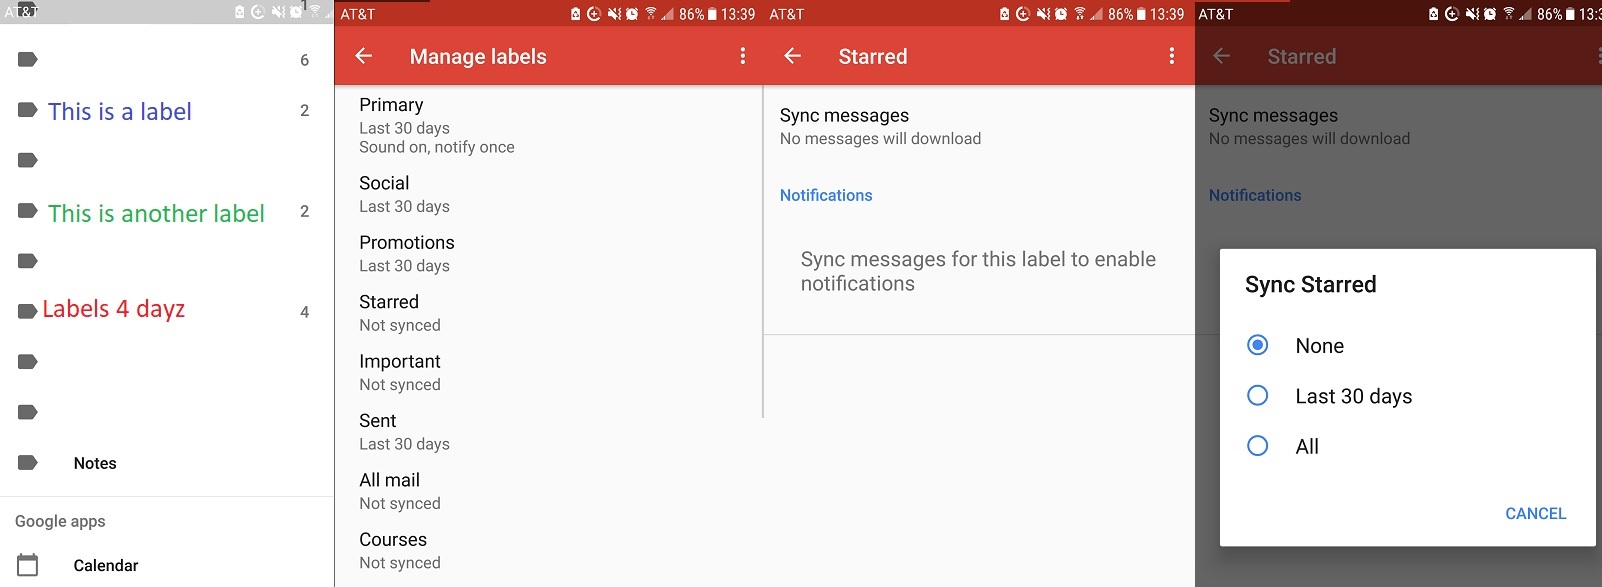
You will also see that it says which labels are synced, scheduled to sync, or which labels are not synced. For your newly created filter and label, you’ll need to sync it initially.
Just click the label which, in the above image, is “Starred” and then click “Sync messages”. You can select to sync none, all labels, or labels from the last 30 days. If you want to change the sync time period, you can do that on the settings page under “days of mail to sync”.
Now it’s time for step #4.
Step #4: Set a Unique Ringtone for Email Notifications
First of all, don’t judge me for my poor naming conventions, okay? Secondly, this is the easiest step on this list thanks to updates to Gmail’s interface over the years.
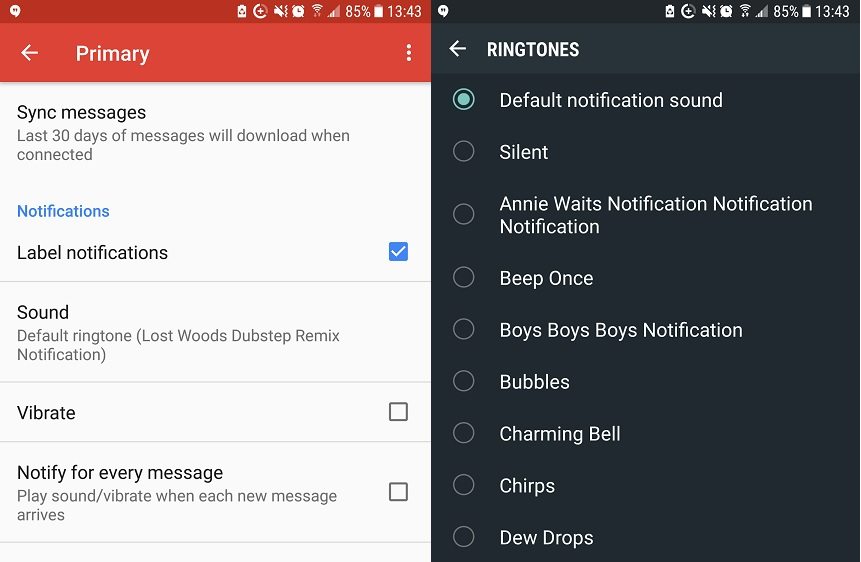
After syncing your messages, go back to the label page and click “Sound”. From there, you can select any ringtone or sound from your device for emails with that label!
Boom, you just ensured you’ll never miss an important client email ever again. Or, at least, now you have no excuse!
Bonus Step: Creating Your Own Custom Ringtones
I’ve been doing this since college because I enjoy personalizing things for my friends and family. My mom has a unique text and ringtone along with other important people in my life. However, my emails also have a particular notification tone.
I use Ringtone Maker, available on the Google Play store for free. It’s similar to the desktop program Audacity and, formerly, Boxcar for iPhones. The editor pictured above comes from Softonic.com, but you can find many similar programs.
You can use most audio files including songs and sound effects depending on the program.
While we’re on the subject of emails, why don’t you give yourself a security check up?
There have been some data breaches apart from the Facebook and Cambridge Analytics fiasco this year. And you can’t reply to clients if you end up with a hacked email.


In the world of cryptocurrency trading and investing, you need to be careful about the risks involved. I was naive enough to believe that I could make huge profits without doing proper research on the subject. I lost $243,000 in USDT and BTC due to a failed cryptocurrency investment plan. Fortunately for me, I was able to contact a reputable cryptocurrency recovery company known as Alien Coin Recovery. I was skeptical at first, but their professionalism and proven experience reassured me. The recovery process involved providing detailed information about the fraud, including transaction history and communication records. I managed to get back all the money I invested in the fraudulent investment scheme. I am grateful to Alien Coin Recovery for their honesty. Here is a recommendation for everyone who intends to recover lost funds. Alien Coin Recovery is the most reliable team. You can contact the Alien Coin team using this information WHATSAPP: +1 210 646-1486 EMAIL: (info@aliencoin.co)